
I made raw sauerkraut!
You might be saying, yeah…and…
But for me, it was fun, creative and something I’ve been wanting to do but was intimidated by the process. So in my book, I get a gold star!
I have been introducing fermented foods, Kombucha and other digestive supporting things in to my diet for a while. I’ve always had kind of slower digestion and as I’ve “matured” I’ve become more aware of how to support it. I’ve also become very diligent about keeping my immune system in high vibe mode. So healthy digestion just makes sense – we want to be sure we have that delicate balance of good bacteria and acid balance to digest our food properly to be sure we are getting all of the vitamins and nourishment that our body needs and for proper elimination of what we don’t need. Did you know that the lining of your stomach is actually part of the immune system? It’s your first line of defense against bugs and other organisms that can make you sick. Your normal production of stomach acids declines as we “mature” as well, so adding digestive enzymes can help you break down your foods better and be sure you are absorbing what you need.
Ok, back to sauerkraut.
I had started buying raw, fermented sauerkraut at Trader Joe’s awhile ago. It’s delicious and I would add a few spoons to my salad, or just have a few bites with a meal. It’s also $4 for a small jar. I was chatting with the cashier one day and I mentioned how much I love it and she smiled at me and said. “Cabbage is cheap, I make my own.”
“She’s right!” I thought. How hard could it be?
I did a lot of research and it seemed easy enough but I was really nervous about messing it up and getting food poisoning. I know, it sounds paranoid but food poisoning is NOT on my bucket list. I was expressing my concerns to my associate Gwyn, who is always the voice of reason and has experience with fermenting and pickling and she said – “Don’t worry, you will know right away if it’s bad.”
Unfortunately, she was right. My first batch failed. It had been fermenting for 3 weeks and we were about to leave for vacation and I was going to cap it up and put in the fridge and my husband Joe said, “No, let’s let it go for one more week, it will be perfect when we get back.” You know what it’s like when you get back from vacation – laundry, emails, etc. I forgot to check the kraut and the water had evaporated below the safe line and the top of it had turned it to a gnarly, white slime. Gwyn was right, I lifted the towel and the smell almost knocked me over.
Lesson learned – trust your gut (no pun intended!), I should have put it away, and you will know when it’s bad. As I was dumping it in to the compost, the kraut on the bottom of the jars looked and smelled perfect – so in a way, Joe was right, 4 weeks was perfection. I don’t know if it would have been safe to skim off that slime and eat the other kraut. I’m still a newbie and was NOT taking any chances.
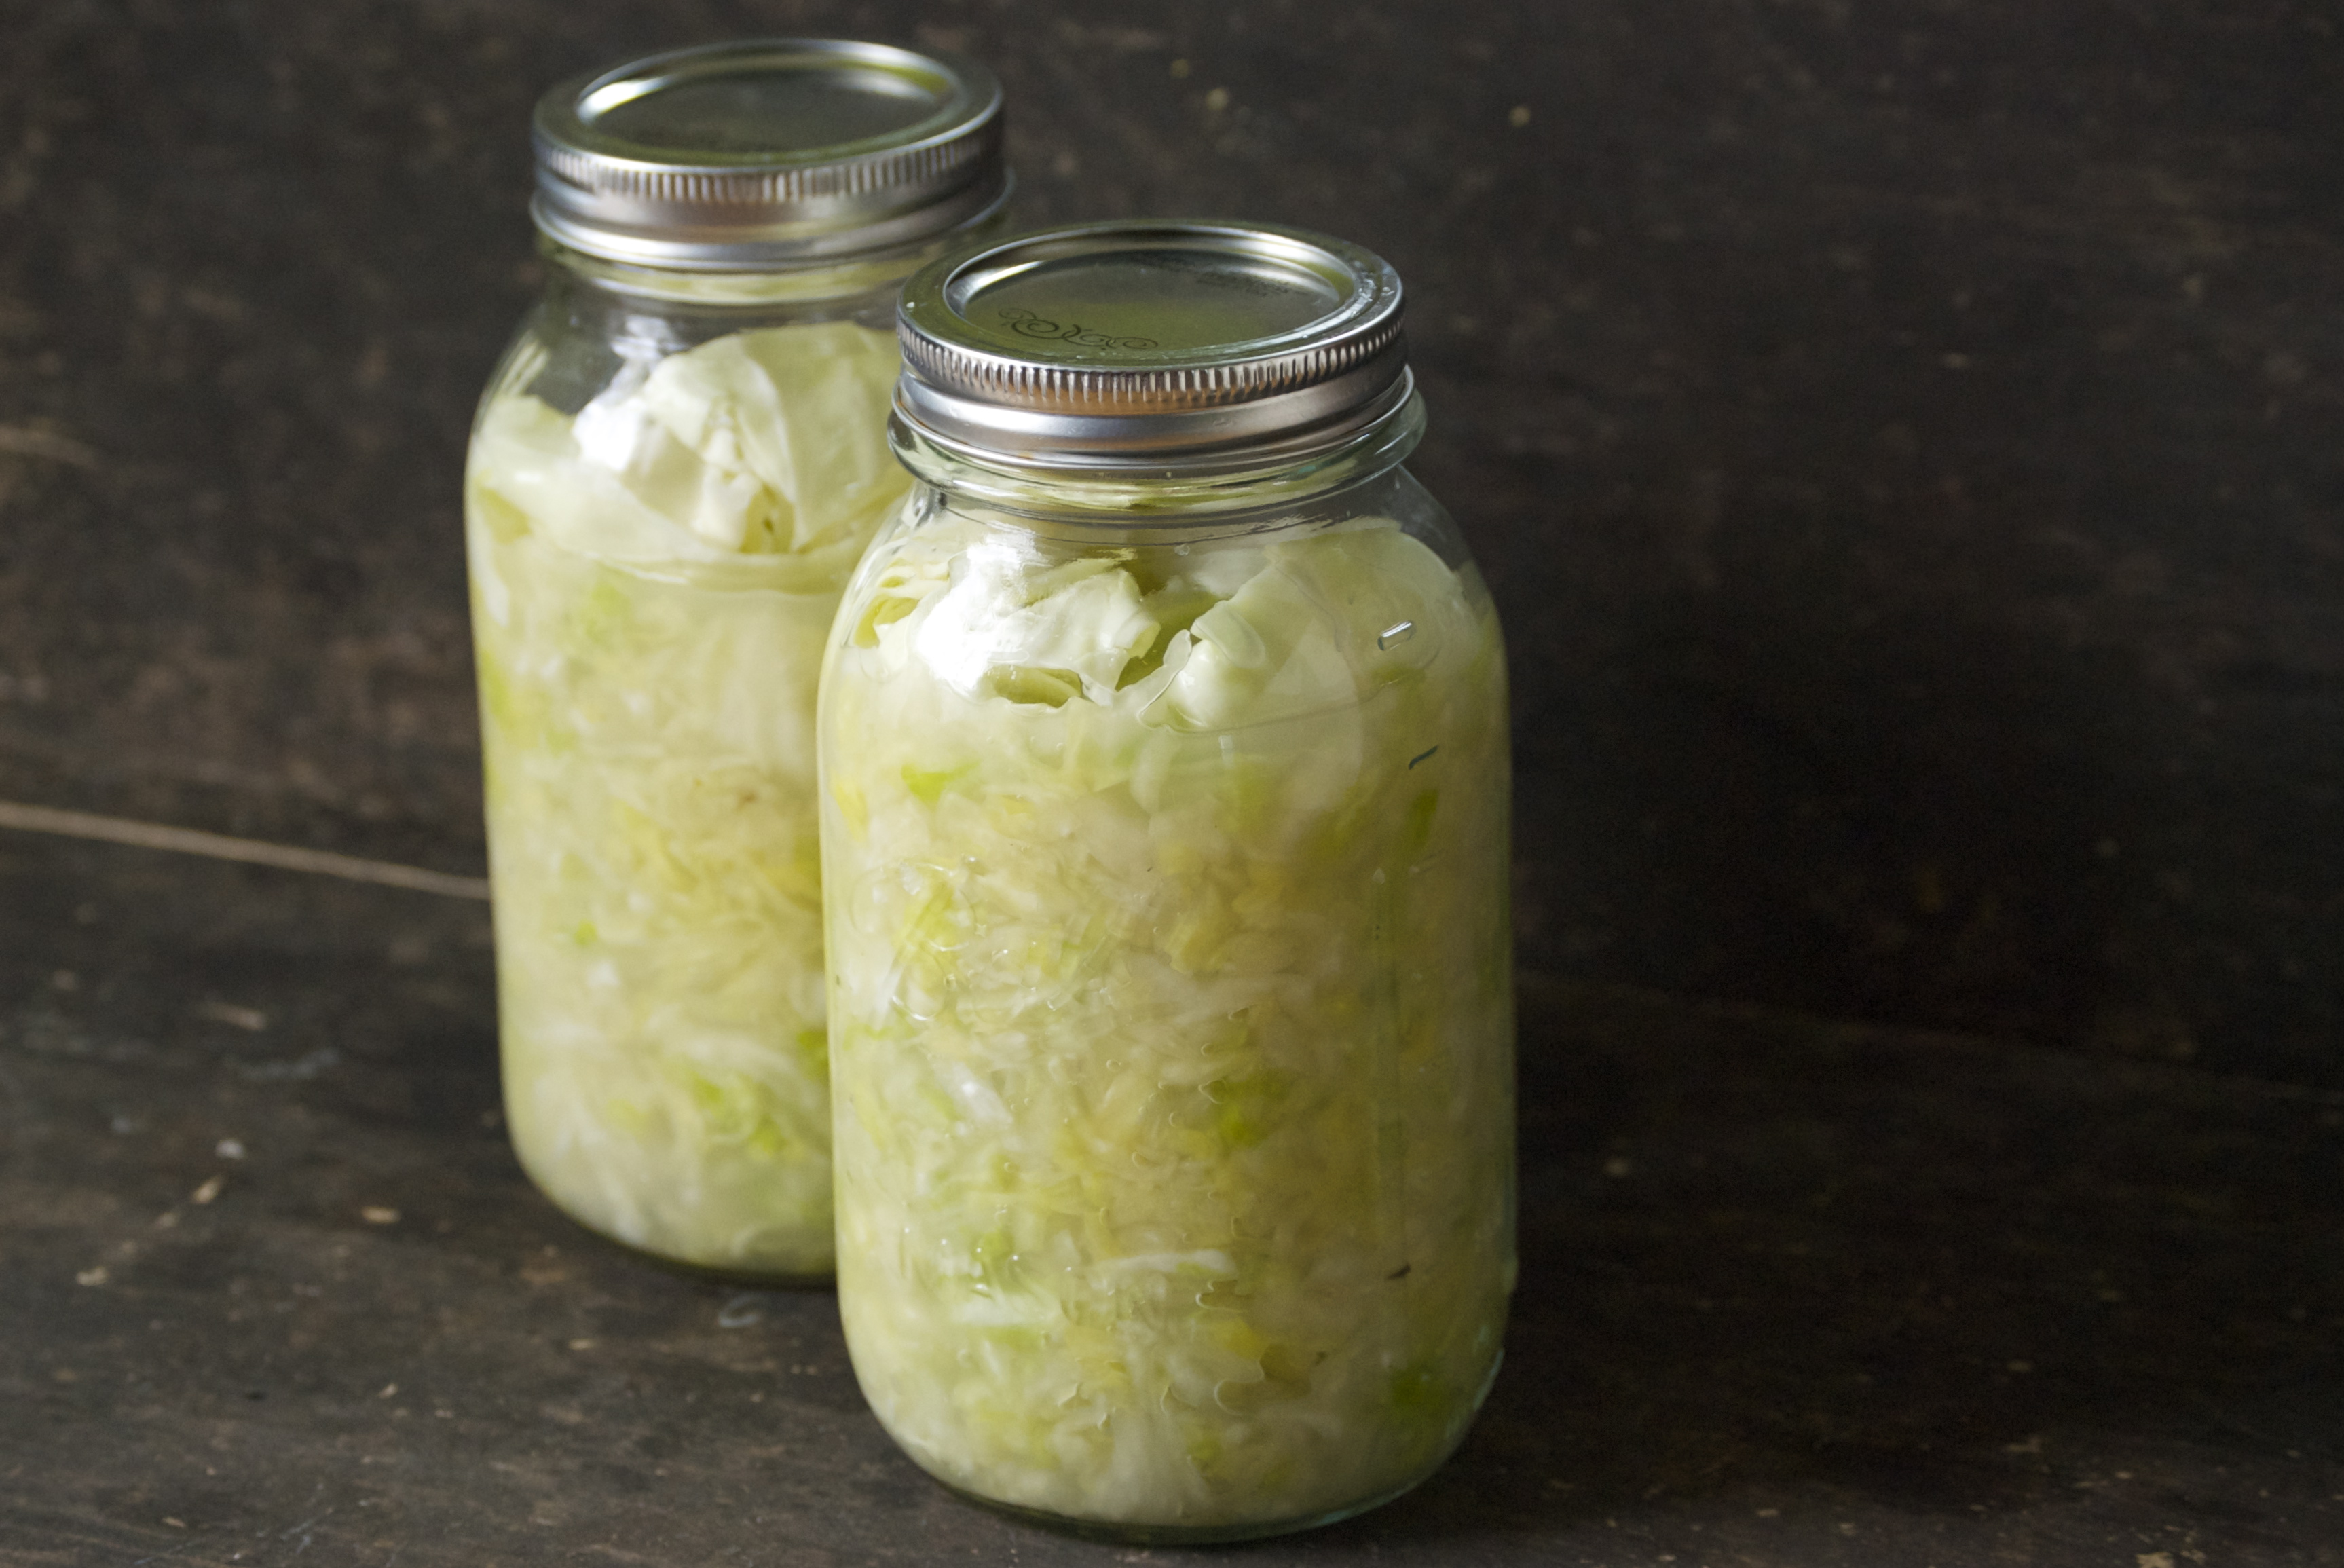
Batch Two I watched like a hawk and let it ferment for 4 weeks and it was PERFECTION!
I just finished Batch Three and it is equally as good. i sometimes just eat it as a snack.
Here’s my go to recipe from The Kitchn. The caraway seeds are optional, but I personally love the way they taste in it.
I also bought these weights from Amazon to keep everything submerged in the brine.
How To Make Homemade Sauerkraut in a Mason Jar
Makes 1 to 1 1/2 quarts
Ingredients
1 medium head green cabbage (about 3 pounds)
1 1/2 tablespoons kosher salt
1 tablespoons caraway seeds (optional, for flavor)
Equipment
Cutting board
Chef’s knife
Mixing bowl
2-quart wide-mouth canning jar (or two-quart mason jars)
Canning funnel (optional)
Smaller jelly jar that fits inside the larger mason jar
Clean stones, marbles, or other weights for weighing the jelly jar
Cloth for covering the jar
Rubber band or twine for securing the cloth
Instructions
- Clean everything: When fermenting anything, it’s best to give the good, beneficial bacteria every chance of succeeding by starting off with as clean an environment as possible. Make sure your mason jar and jelly jar are washed and rinsed of all soap residue. You’ll be using your hands to massage the salt into the cabbage, so give those a good wash, too.
- Slice the cabbage: Discard the wilted, limp outer leaves of the cabbage. Cut the cabbage into quarters and trim out the core. Slice each quarter down its length, making 8 wedges. Slice each wedge crosswise into very thin ribbons.
- Combine the cabbage and salt: Transfer the cabbage to a big mixing bowl and sprinkle the salt over top. Begin working the salt into the cabbage by massaging and squeezing the cabbage with your hands. At first it might not seem like enough salt, but gradually the cabbage will become watery and limp — more like coleslaw than raw cabbage. This will take 5 to 10 minutes. If you’d like to flavor your sauerkraut with caraway seeds, mix them in now.
- Pack the cabbage into the jar: Grab handfuls of the cabbage and pack them into the canning jar. If you have a canning funnel, this will make the job easier. Every so often, tamp down the cabbage in the jar with your fist. Pour any liquid released by the cabbage while you were massaging it into the jar.
→ Optional: Place one of the larger outer leaves of the cabbage over the surface of the sliced cabbage. This will help keep the cabbage submerged in its liquid. - Weigh the cabbage down: Once all the cabbage is packed into the mason jar, slip the smaller jelly jar into the mouth of the jar and weigh it down with clean stones or marbles. This will help keep the cabbage weighed down, and eventually, submerged beneath its liquid.
- Cover the jar: Cover the mouth of the mason jar with a cloth and secure it with a rubber band or twine. This allows air to flow in and out of the jar, but prevents dust or insects from getting into the jar.
- Press the cabbage every few hours: Over the next 24 hours, press down on the cabbage every so often with the jelly jar. As the cabbage releases its liquid, it will become more limp and compact and the liquid will rise over the top of the cabbage.
- Add extra liquid, if needed: If after 24 hours, the liquid has not risen above the cabbage, dissolve 1 teaspoon of salt in 1 cup of water and add enough to submerge the cabbage.
- Ferment the cabbage for 3 to 10 days: As it’s fermenting, keep the sauerkraut away from direct sunlight and at a cool room temperature — ideally 65°F to 75°F. Check it daily and press it down if the cabbage is floating above the liquid.
Because this is a small batch of sauerkraut, it will ferment more quickly than larger batches. Start tasting it after 3 days — when the sauerkraut tastes good to you, remove the weight, screw on the cap, and refrigerate. You can also allow the sauerkraut to continue fermenting for 10 days or even longer. There’s no hard-and-fast rule for when the sauerkraut is “done” — go by how it tastes.
While it’s fermenting, you may see bubbles coming through the cabbage, foam on the top, or white scum. These are all signs of a healthy, happy fermentation process. The scum can be skimmed off the top either during fermentation or before refrigerating. If you see any mold, skim it off immediately and make sure your cabbage is fully submerged; don’t eat moldy parts close to the surface, but the rest of the sauerkraut is fine. - Store sauerkraut for several months: This sauerkraut is a fermented product so it will keep for at least two months and often longer if kept refrigerated. As long as it still tastes and smells good to eat, it will be. If you like, you can transfer the sauerkraut to a smaller container for longer storage.
Give it a try! It’s so easy and good for you!
Next up Kimchi…stay tuned….
Happy fermenting!